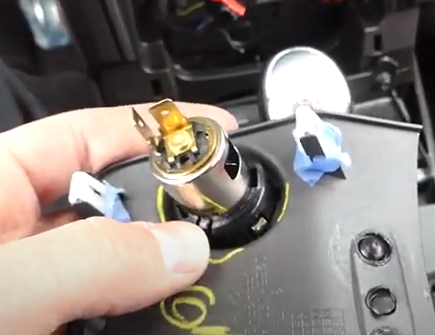
You can see the tabs - and you remove it by pressing on those tabs from the inside hollow to push the tabs out.
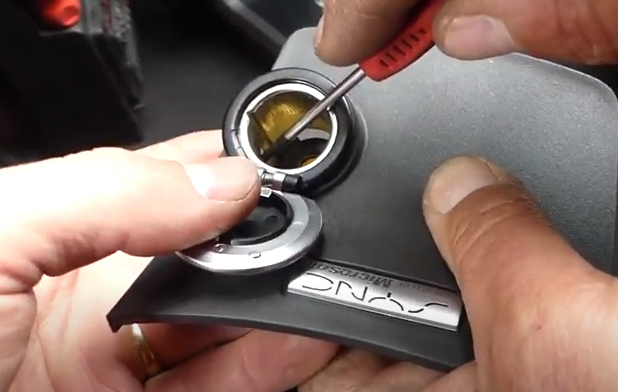
Then the insert then pops out thru the top - replacement is similar in reverse, only your connector is installed then the whole thing is pushed back down into the collar. You just align the tabs. Snaps into place.
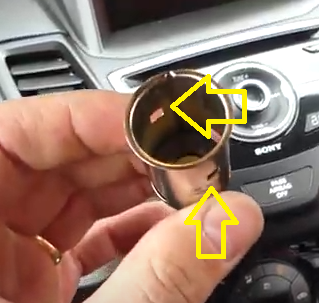
To help in getting it out, some upward pressure helps once the tabs are pushed in - the tabs then keep out and the other tabs holding it can then be pushed out from inside - then the sleeve that the socket is, pops up and out
Thanks to
@econoboxrocks - for the search for Auto Repair Guys
Per the video...
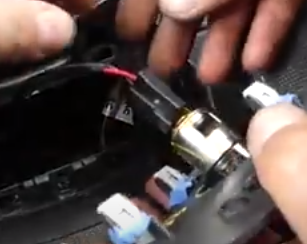
Due to a HD crash, I had lost much of my build documentation for swapping out the original trim console from the cubby which smacked my elbow and arm as it is a manual, not an automatic - to a sloping trim - the lower piece was kept the upper piece unit clips into it - and gave me an extra socket to install BEHIND the console for the back seat. Where we kept the pups and allowed us access to the back seat without having that upper cubby in the console in the way.
My experience was to find and build the electrical connector to plug it in and route the wiring accordingly. I use 14AWG wire and had 1/4" spade lugs done-up on a homemade harness.